Share This Article

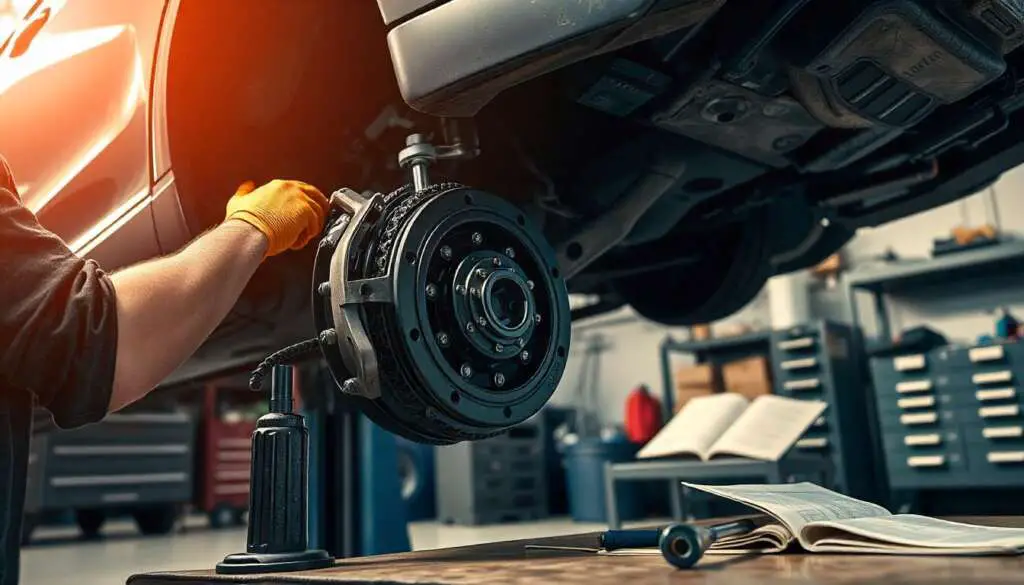
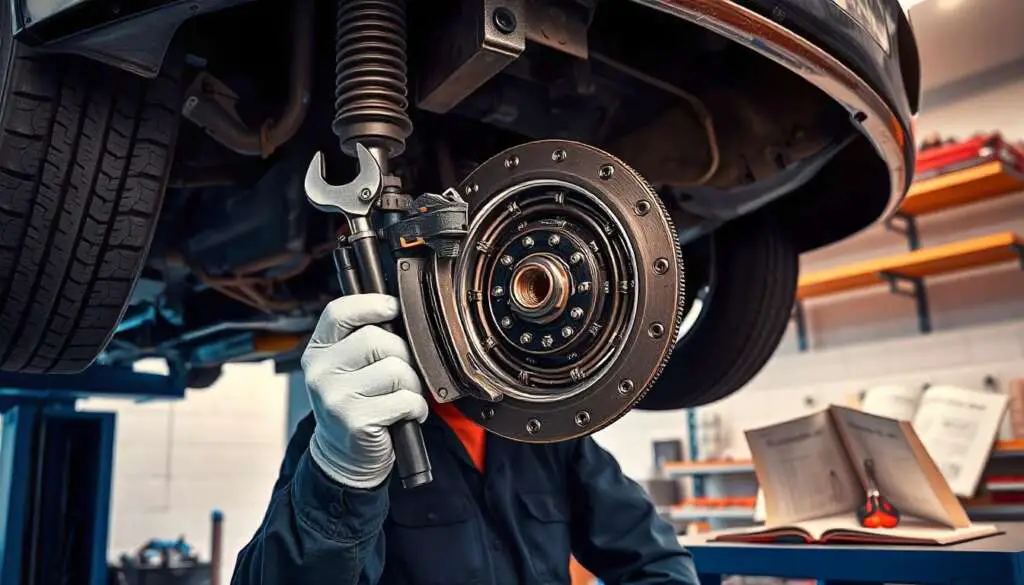
A clutch is an essential element in the transmission system of your car which ensures smooth power transfer between your engine and wheels. In time the clutch could be worn out, resulting in diminished performance or even total failure. This article offers a step-by-step guide to fixing a clutch. It provides valuable knowledge and suggestions to ensure the best performance of your vehicle.
1. Signs of a Failing Clutch
Being aware of the early signs of a clutch problem could save time and help avoid expensive repairs. The most common symptoms are:
- Slipping Clutch The engine is revving up but the vehicle doesn’t accelerate the way it should.
- Hardly Shifting Gears: Grumbling or resistance in changing gears.
- The smell of burning: A smoky smell could indicate friction in the clutch.
- Spongy or stiff Clutch pedal: An abnormal feeling could indicate hydraulic issues.
- Noisy Operation: Rattling or squealing sounds occur when the clutch is activated.
2. Tools Required for Clutch Repair
Before you begin the repair, collect these tools
- Set of socket wrenches
- Screwdrivers (flat and Phillips head)
- Torque wrench
- Jack and Jack stands
- Clutch tool for alignment
- Pry bar
- Kit for replacement clutches (clutch disc, pressure plate as well as release bearing)
- Goggles and safety gloves
3. Step-by-Step Clutch Repair Process

Step 1: Prepare Your Workspace
- Place the car on a level area and activate your parking brake.
- Remove the battery from the circuit to avoid problems with the electrical system.
- The car should be raised by using a jack, and then secure it using the jack stands.
Step 2: Remove the Transmission
- Unplug the driveshaft and disconnect the linkages that connect to the transmission.
- Unscrew the bolts that secure your transmission onto the engine.
- Remove the transmission to expose it to the clutch.
Step 3: Inspect the Clutch Components
- Examine the clutch disc pressure plate and release the bearing for damage and wear.
- Examine for oil leaks that could lead to contamination of the clutch.
Step 4: Replace Worn Components
- Set up the clutch disc and ensure it is aligned by using an alignment tool for the clutch.
- Install the pressure plate to anchor it using bolts.
- Replace the bearing on the release If necessary, replace the bearing.
Step 5: Reinstall the Transmission
- Reattach the drive shaft, transmission, and the links in reverse in reverse.
- Make sure that all bolts are tightened according to the specifications of the manufacturer.
Step 6: Test the Clutch
- Connect the battery, then start the vehicle.
- Test the clutch’s operation by engaging the gears while driving at low speeds.
4. Common Issues and Troubleshooting Tips
- Clutch Slipping Following Repair: This could mean the wrong installation or an oiled clutch disc. Make sure the clutch is in good condition.
- The Hard pedal feels: Check that the hydraulic system is cleaned to eliminate air.
- Noise During Operation: Examine the release bearing and the input shaft to determine if there is damage.
5. Clutch Maintenance Tips
To extend the lifespan of your gear, make sure you follow these suggestions:
- Be careful not to ride the clutch pedal. Fully engage or detach it.
- Make sure you are using the right gear to match the speed and terrain in order to lessen strain.
- Regular check-ins will help identify any potential problems early.
Conclusion
Repairing the clutch requires expertise as well as the right tools and care for particulars. Following this step-bystep guide to solve common issues with your clutch and restore the performance of your vehicle. For more complicated issues, you should consider seeking out an expert mechanic.
If you maintain your vehicle properly and make prompt repairs, your clutch will ensure reliable performance for decades to be. Be proactive and keep your vehicle operating smoothly!


